# 解析请求首部所有的键值对,组装成字典 headers = {} for header in request_header.split('\r\n'): k, v = header.split(': ', 1) headers[k] = v
return method, path, headers, args
@staticmethod def_parse_path(data): """解析请求路径、请求参数""" args = {} # 请求路径和 GET 请求参数格式: /index?edit=1&content=text if'?'notin data: path, query = data, '' else: path, query = data.split('?', 1) for q in query.split('&'): k, v = q.split('=', 1) args[k] = v return path, args
@staticmethod def_path_body(data): """解析请求体""" form = {} if data: # POST 请求体参数格式: username=zhangsan&password=mima for b in data.split('&'): k, v = b.split('=', 1) # 前端页面中通过 form 表单提交过来的数据会被自动编码,使用 unquote_plus 来解码 form[k] = unquote_plus(v) return form
@classmethod def_load_db(cls): """加载 JSON 文件中所有 todo 数据""" path = cls._db_path() with open(path, 'r', encoding='utf-8') as f: return json.load(f)
@classmethod def_save_db(cls, data): """将 todo 数据保存到 JSON 文件""" path = cls._db_path() with open(path, 'w', encoding='utf-8') as f: json.dump(data, f, ensure_ascii=False, indent=4)
@classmethod defall(cls, sort=False, reverse=False): """获取全部 todo""" # 这一步用来将所有从 JSON 文件中读取的 todo 数据转换为 Todo 实例化对象,方便后续操作 todo_list = [cls(**todo_dict) for todo_dict in cls._load_db()] # 对数据按照 id 排序 if sort: todo_list = sorted(todo_list, key=lambda x: x.id, reverse=reverse) return todo_list
defsave(self): """保存 todo""" # 查找出除 self 以外所有 todo # todo.__dict__ 是保存了所有实例属性的字典 todo_list = [todo.__dict__ for todo in self.all(sort=True) if todo.id != self.id]
# 自增 id if self.id isNone: # 如果 todo_list 长度大于 0 说明不是第一条 todo,取最后一条 todo 的 id 加 1 if len(todo_list) > 0: self.id = todo_list[-1]['id'] + 1 # 否则说明是第一条 todo,id 为 1 else: self.id = 1
# 将当前 todo 追加到 todo_list todo_list.append(self.__dict__) # 将所有 todo 保存到文件 self._save_db(todo_list)
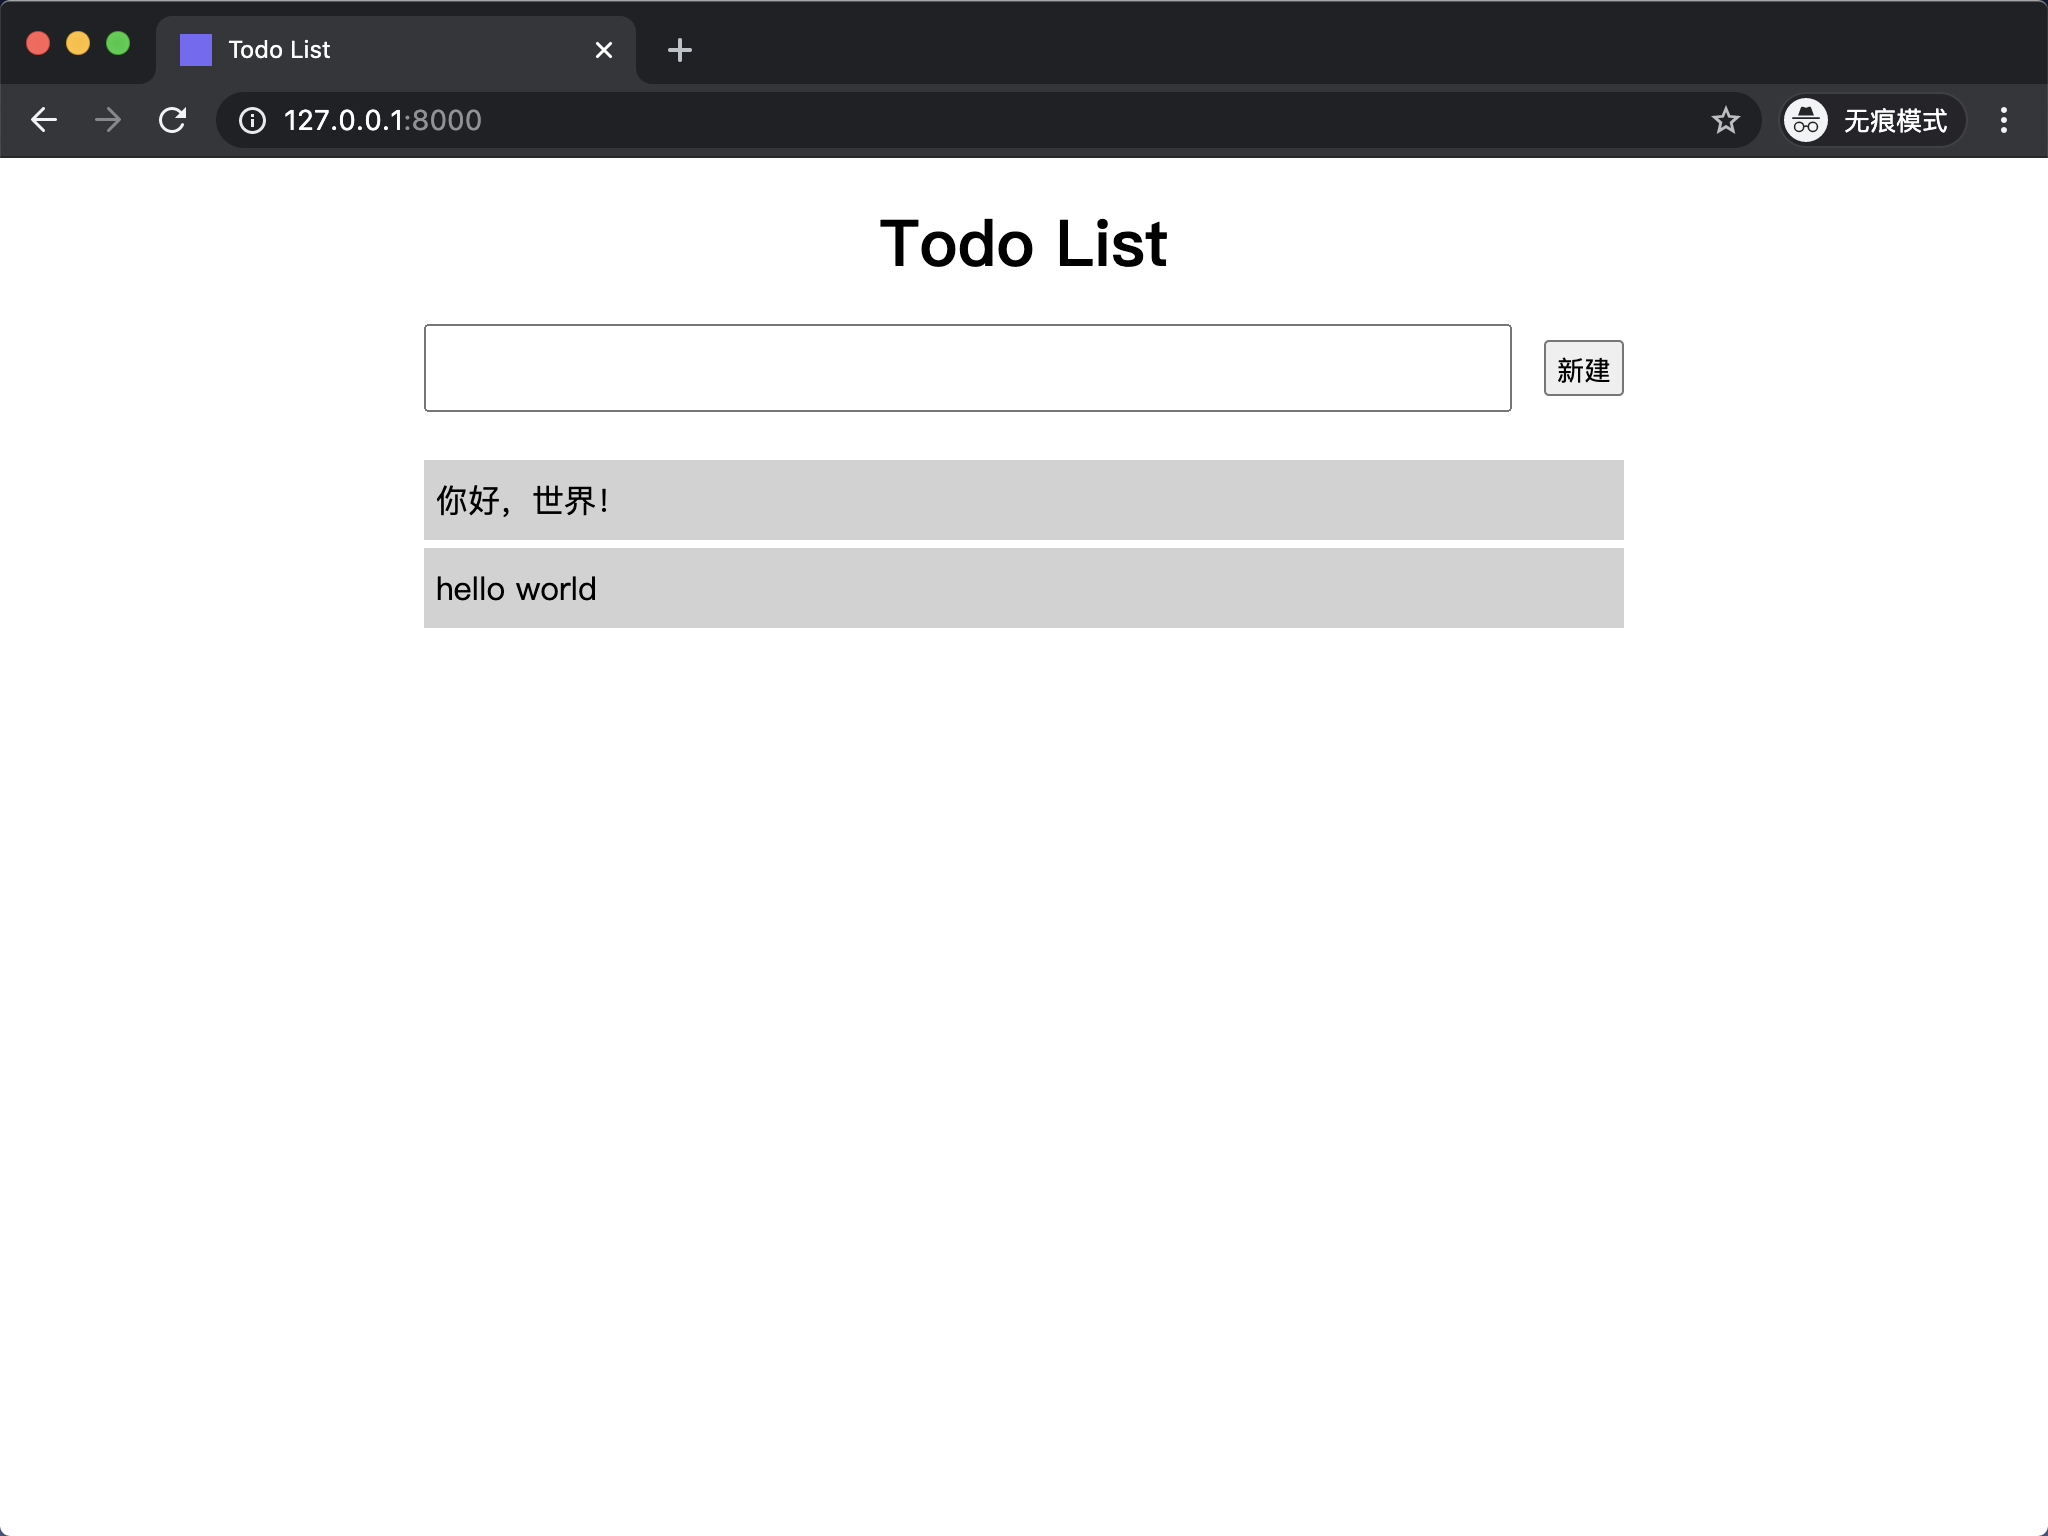
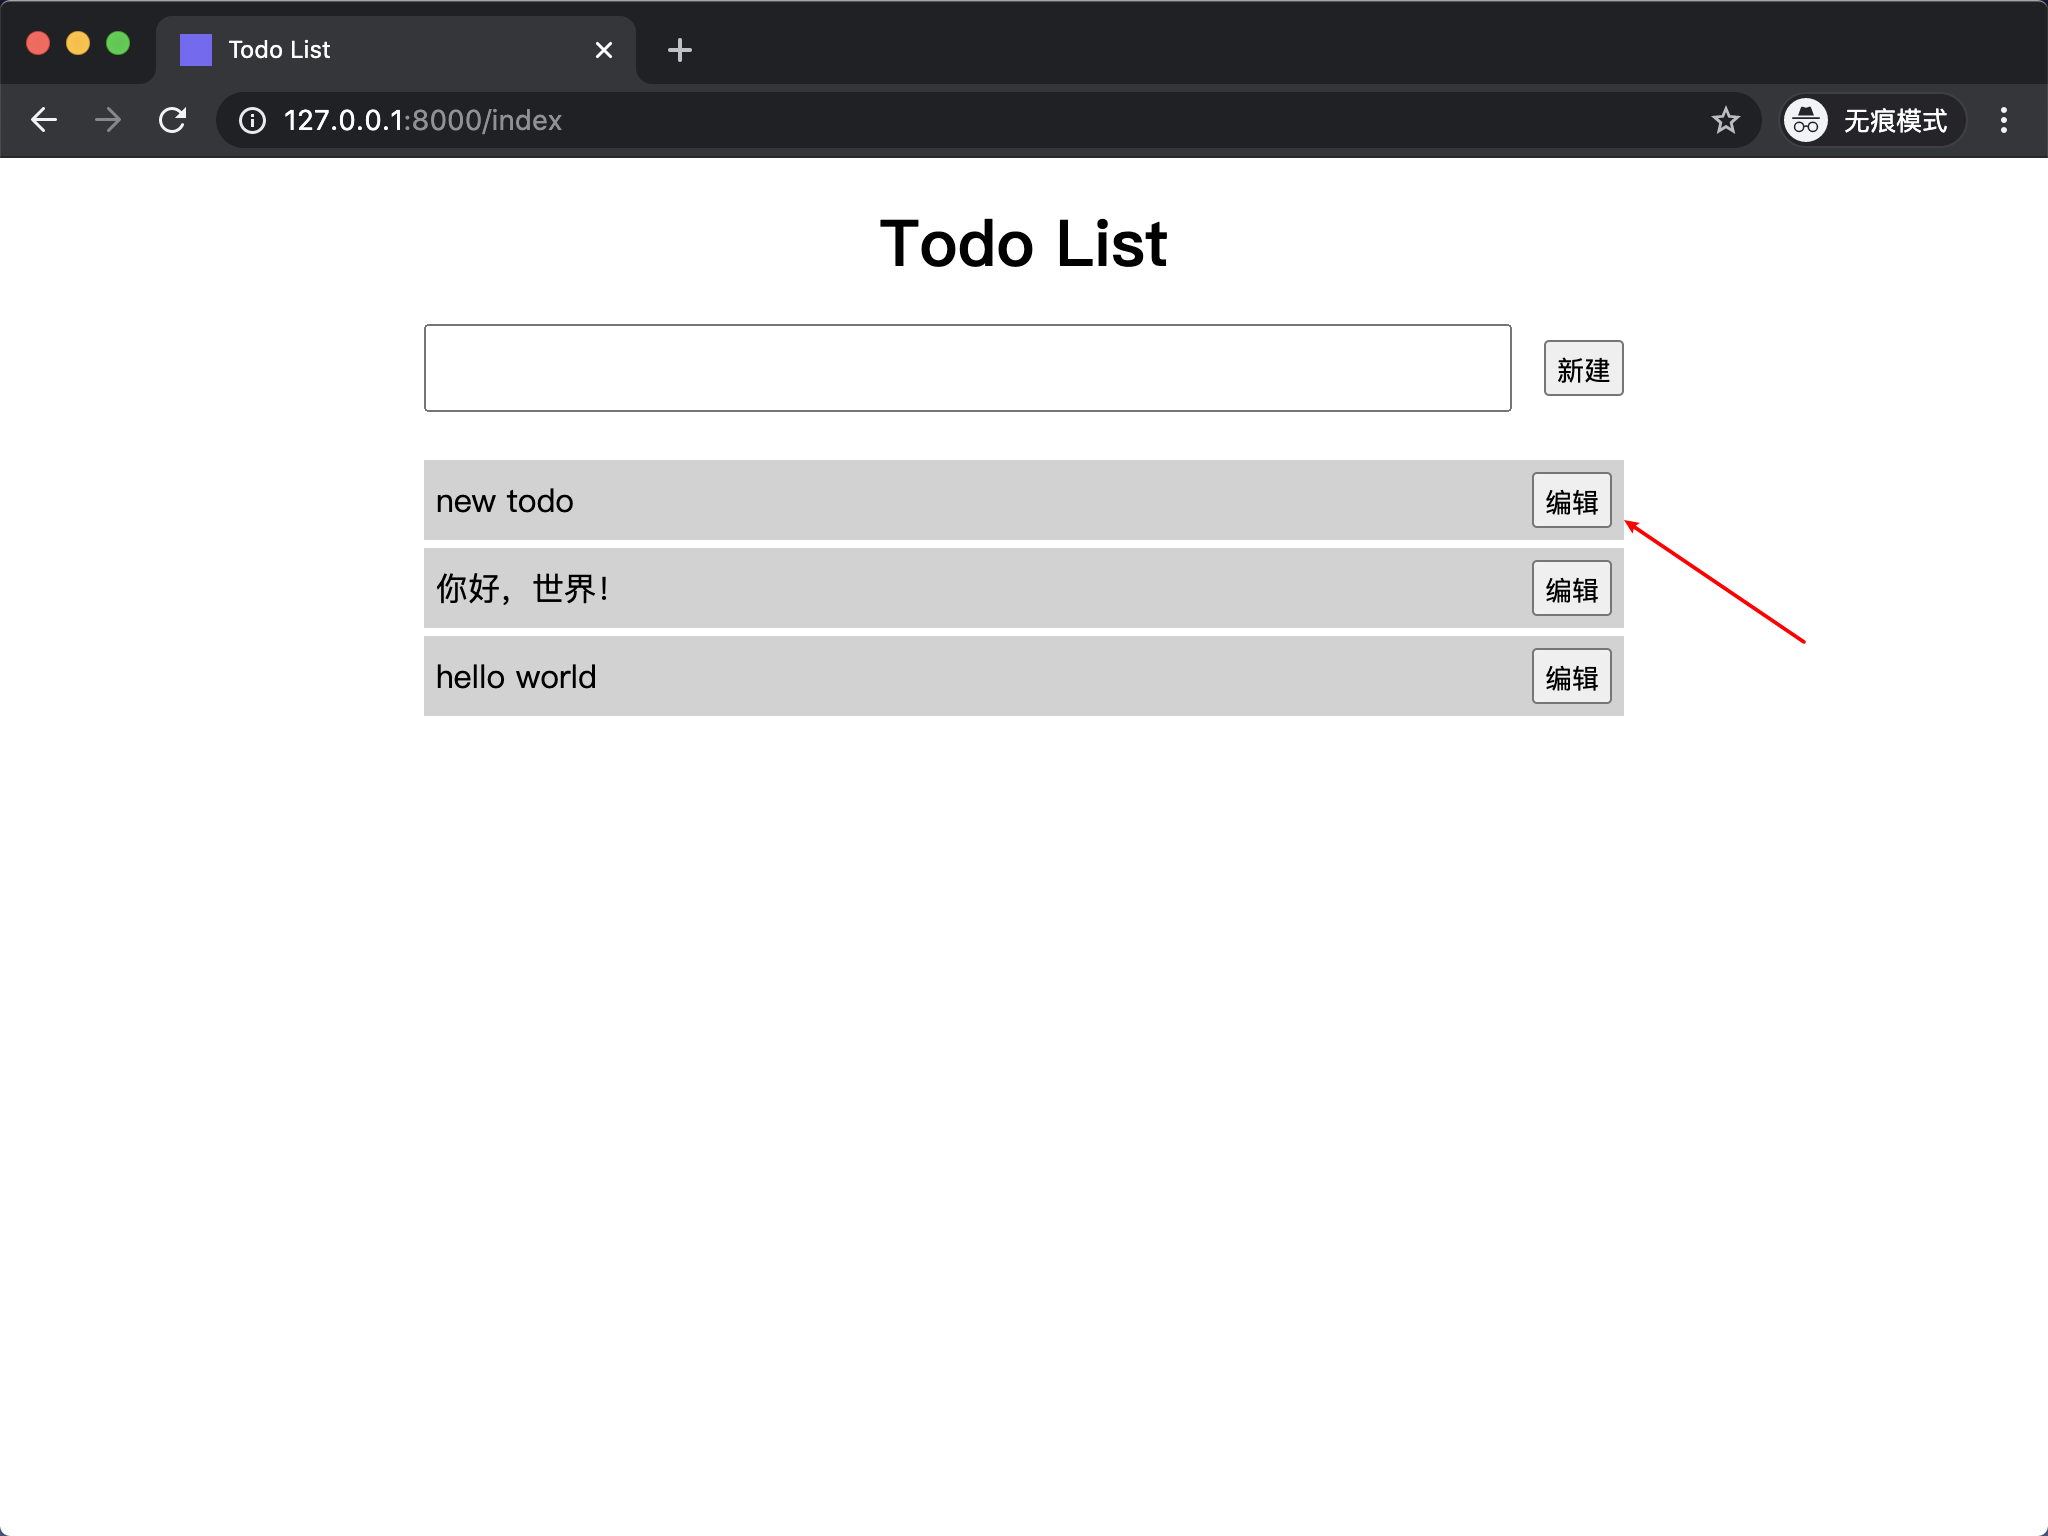
在控制器层,编写一个 new 视图函数用来处理新增 todo 的业务逻辑:
1 2 3 4 5 6 7 8 9 10 11 12 13
# todo_list/todo/controllers.py
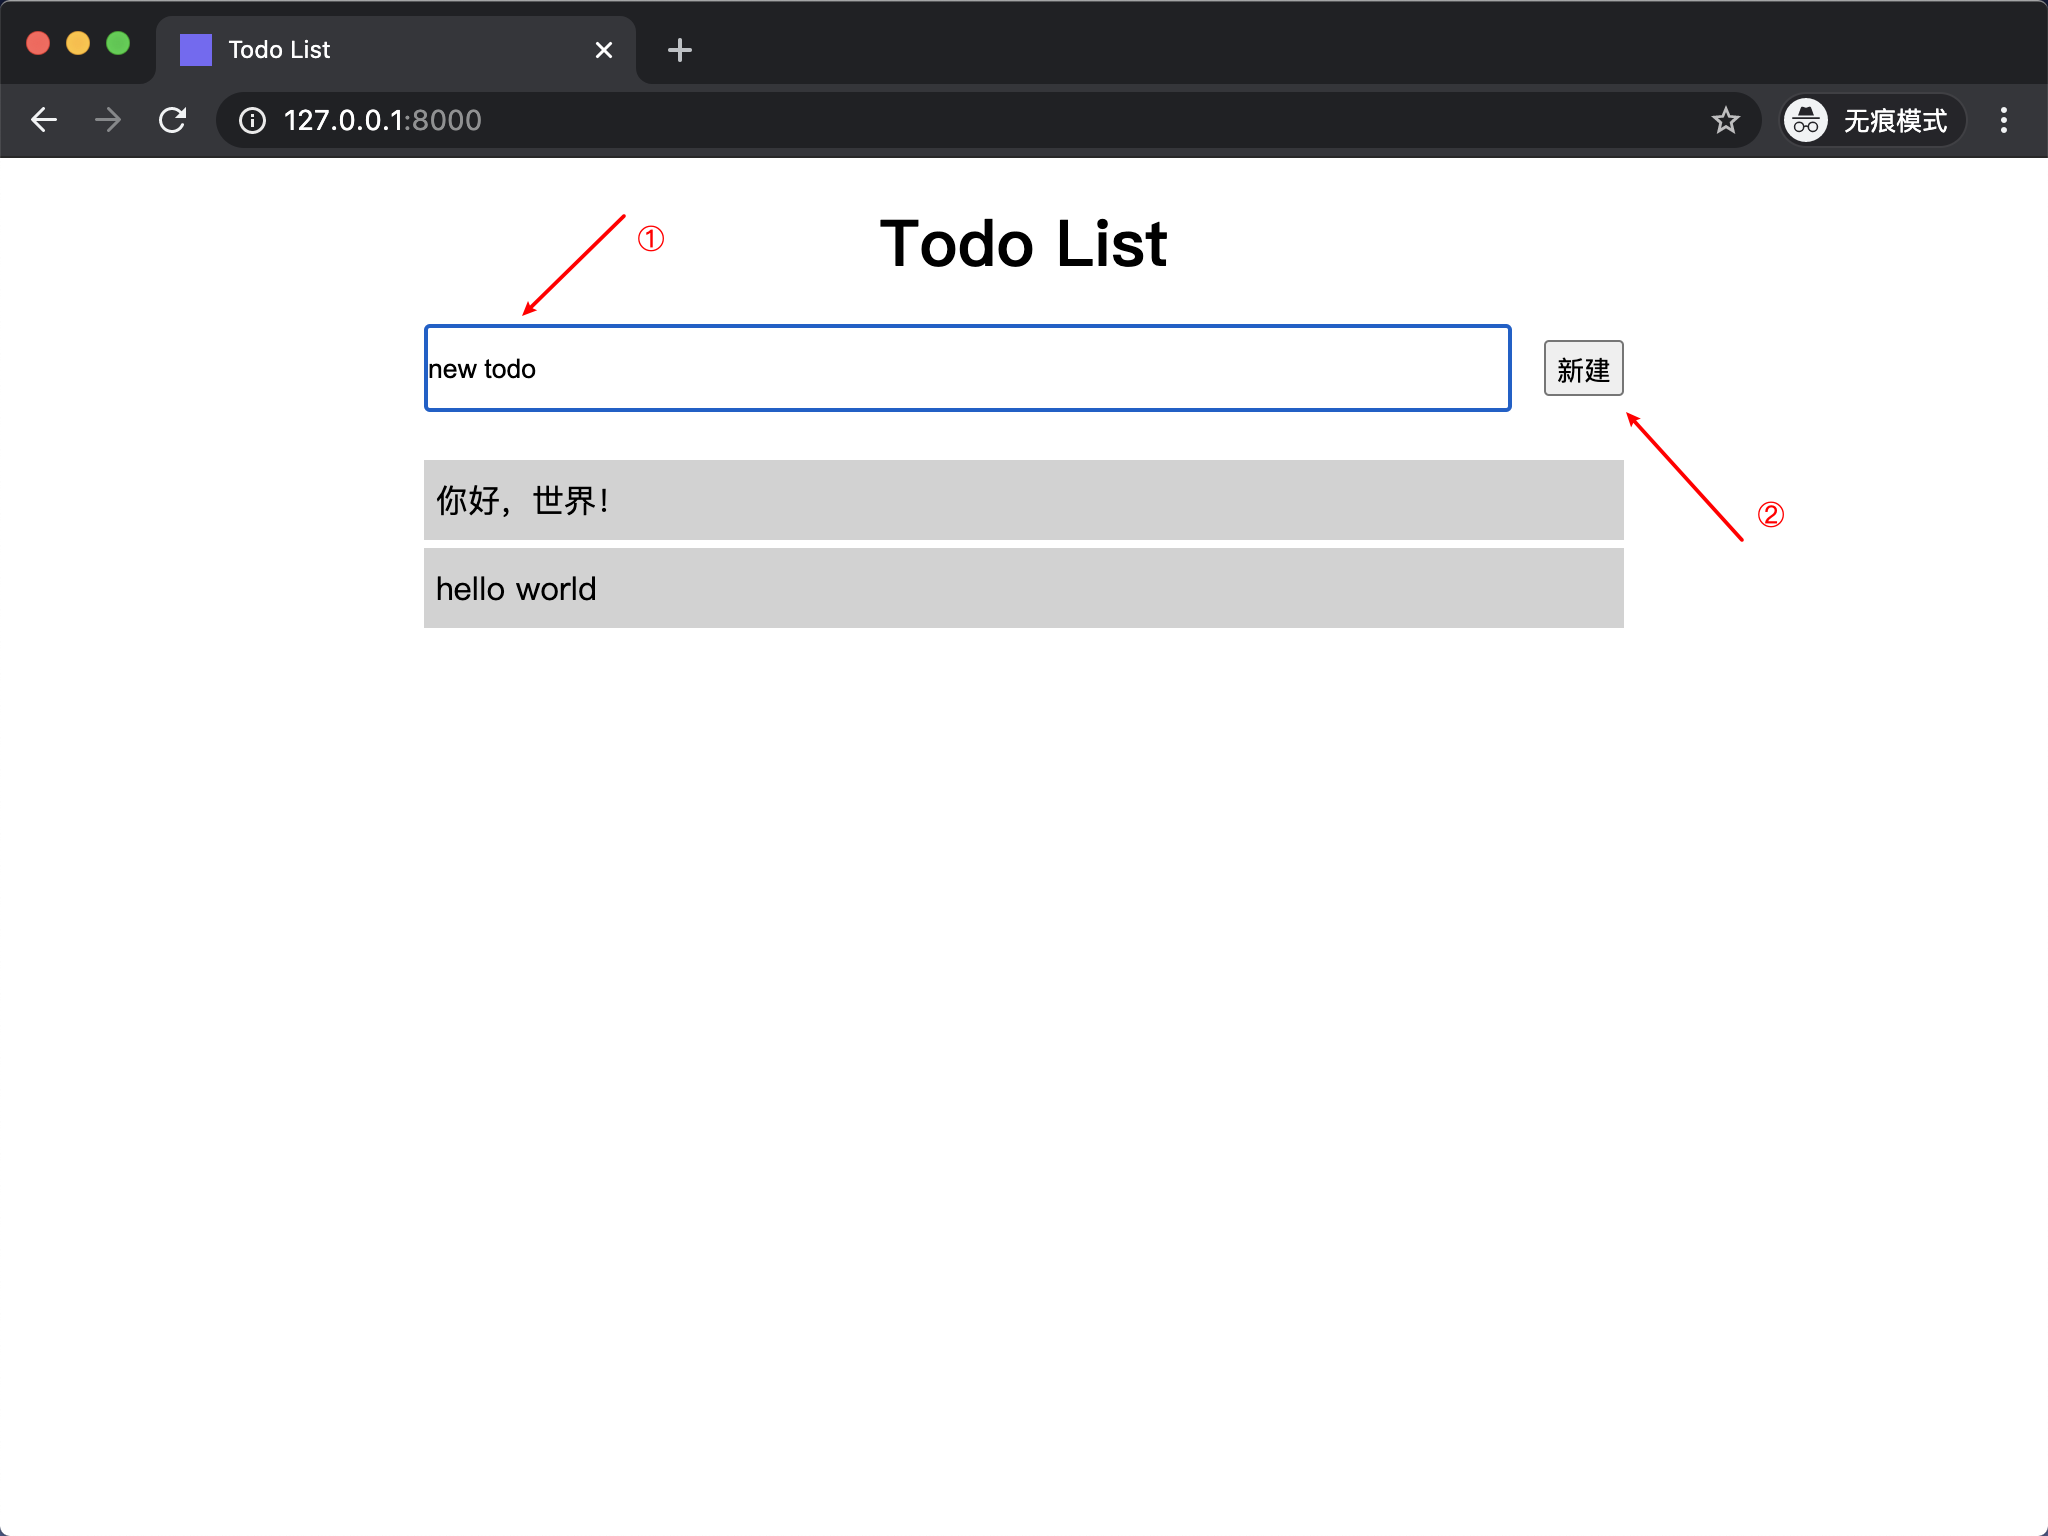
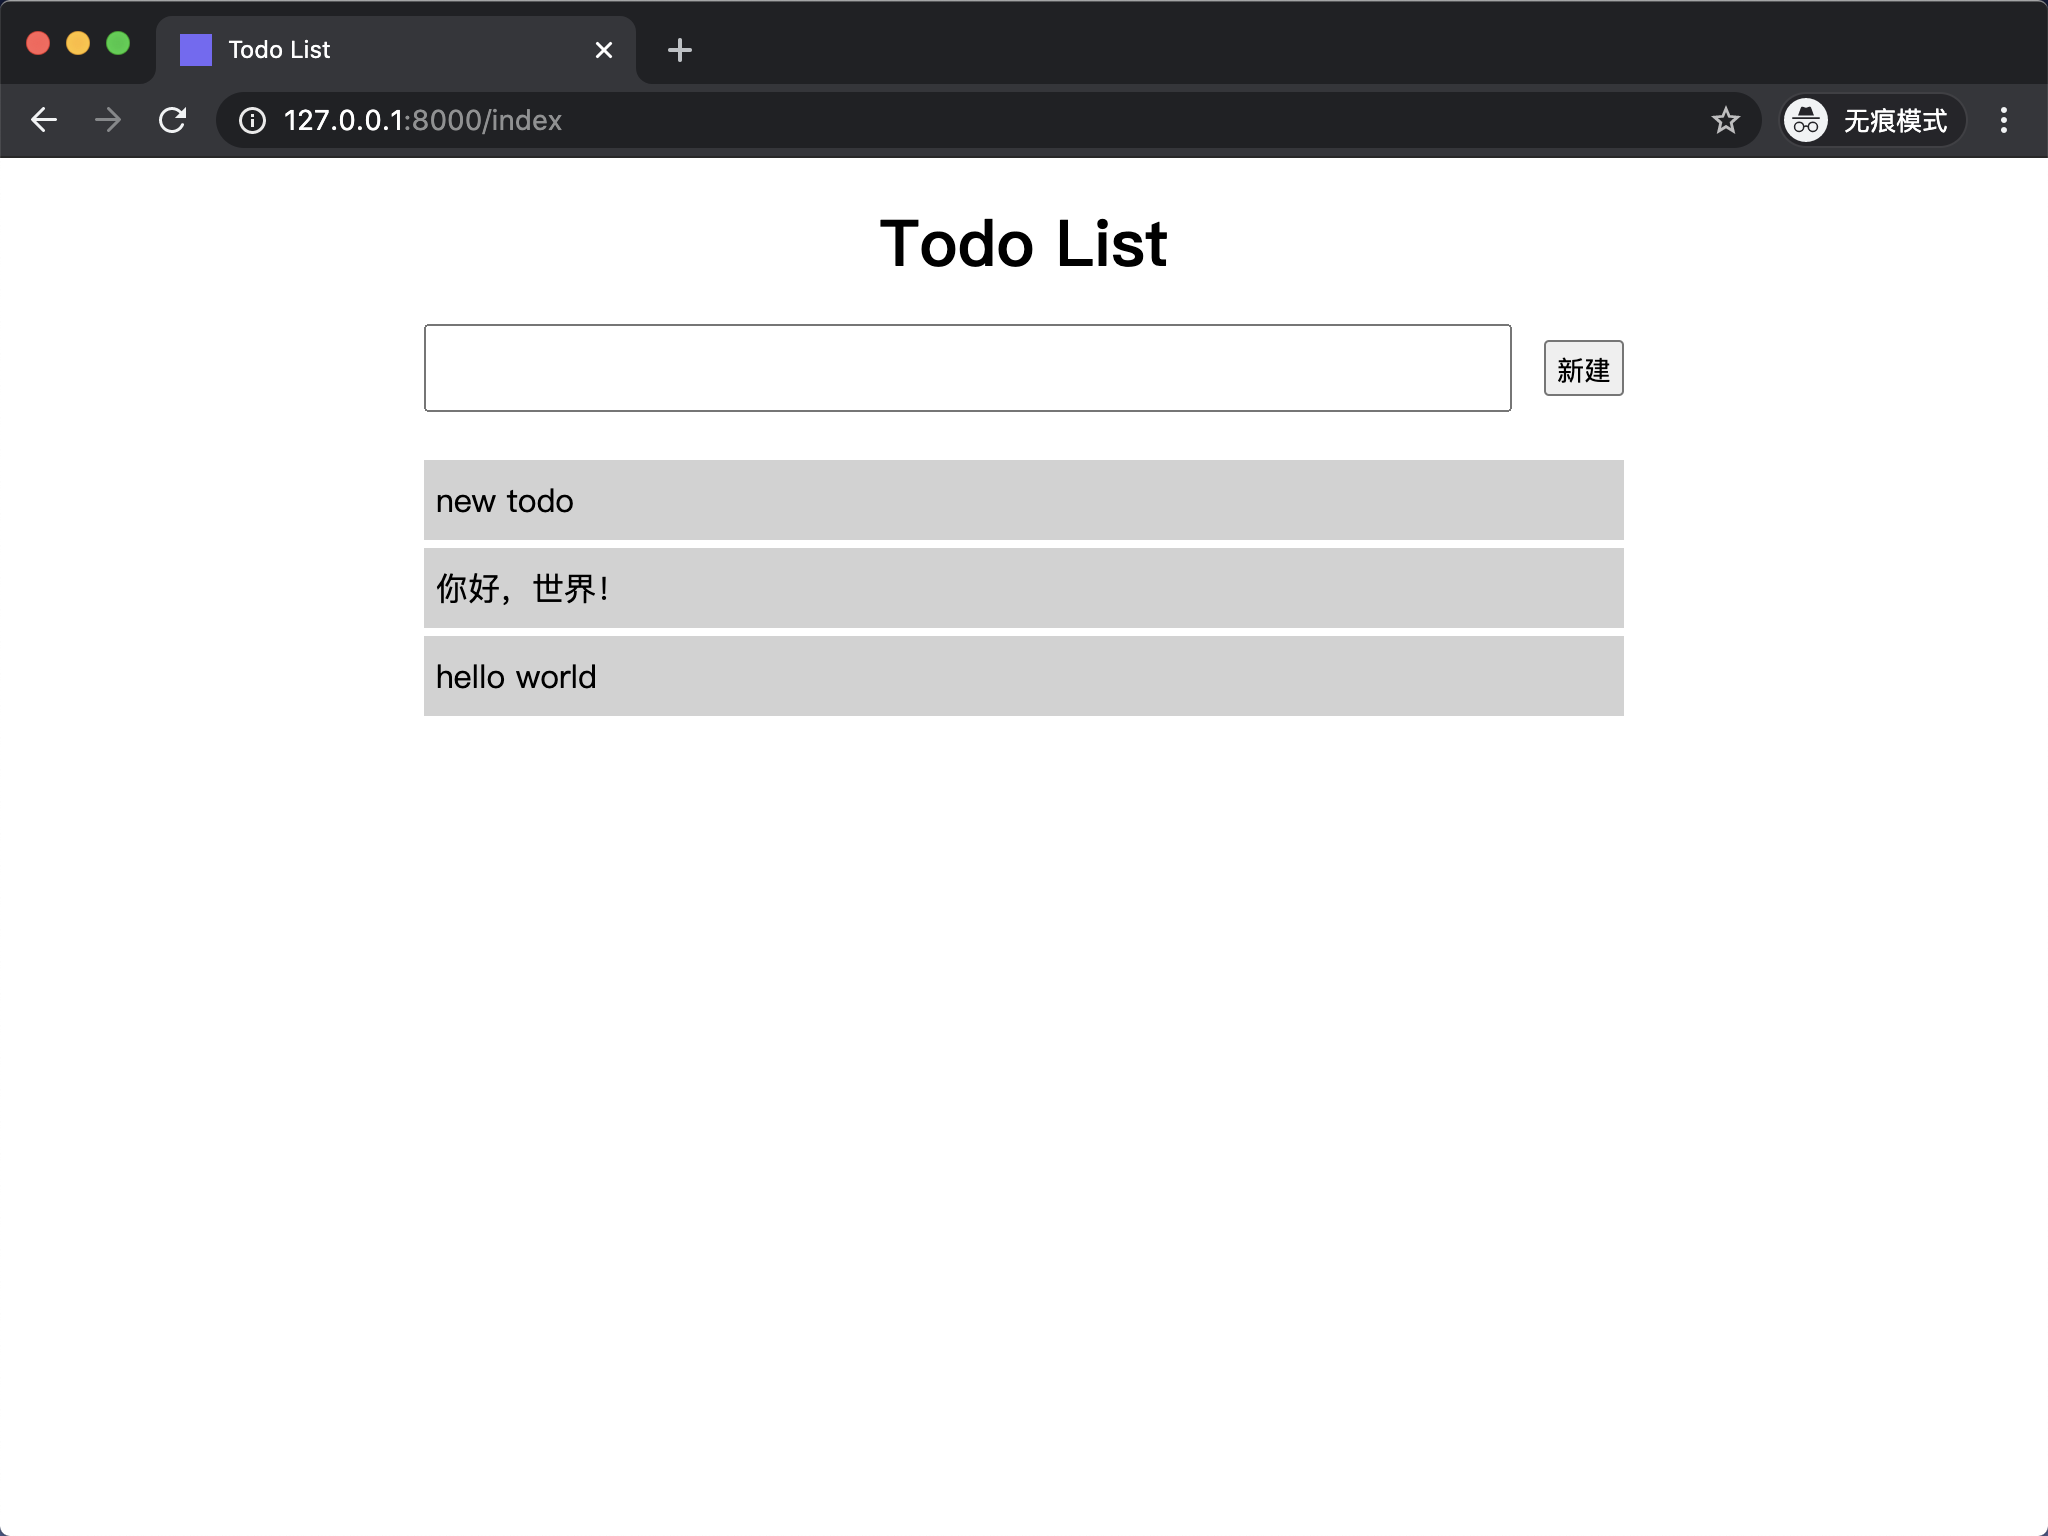
defnew(request): """新建 todo 视图函数""" form = request.form print(f'form: {form}')
content = form.get('content') # 这里判断前端传递过来的参数是否有内容,如果为空则说明不是一个有效的 todo,直接重定向到首页 if content: todo = Todo(content=content) todo.save() return redirect('/index')
在 new 视图函数中判断如果前端传递过来的 todo 有效,就将其保存到文件,然后重定向到首页。
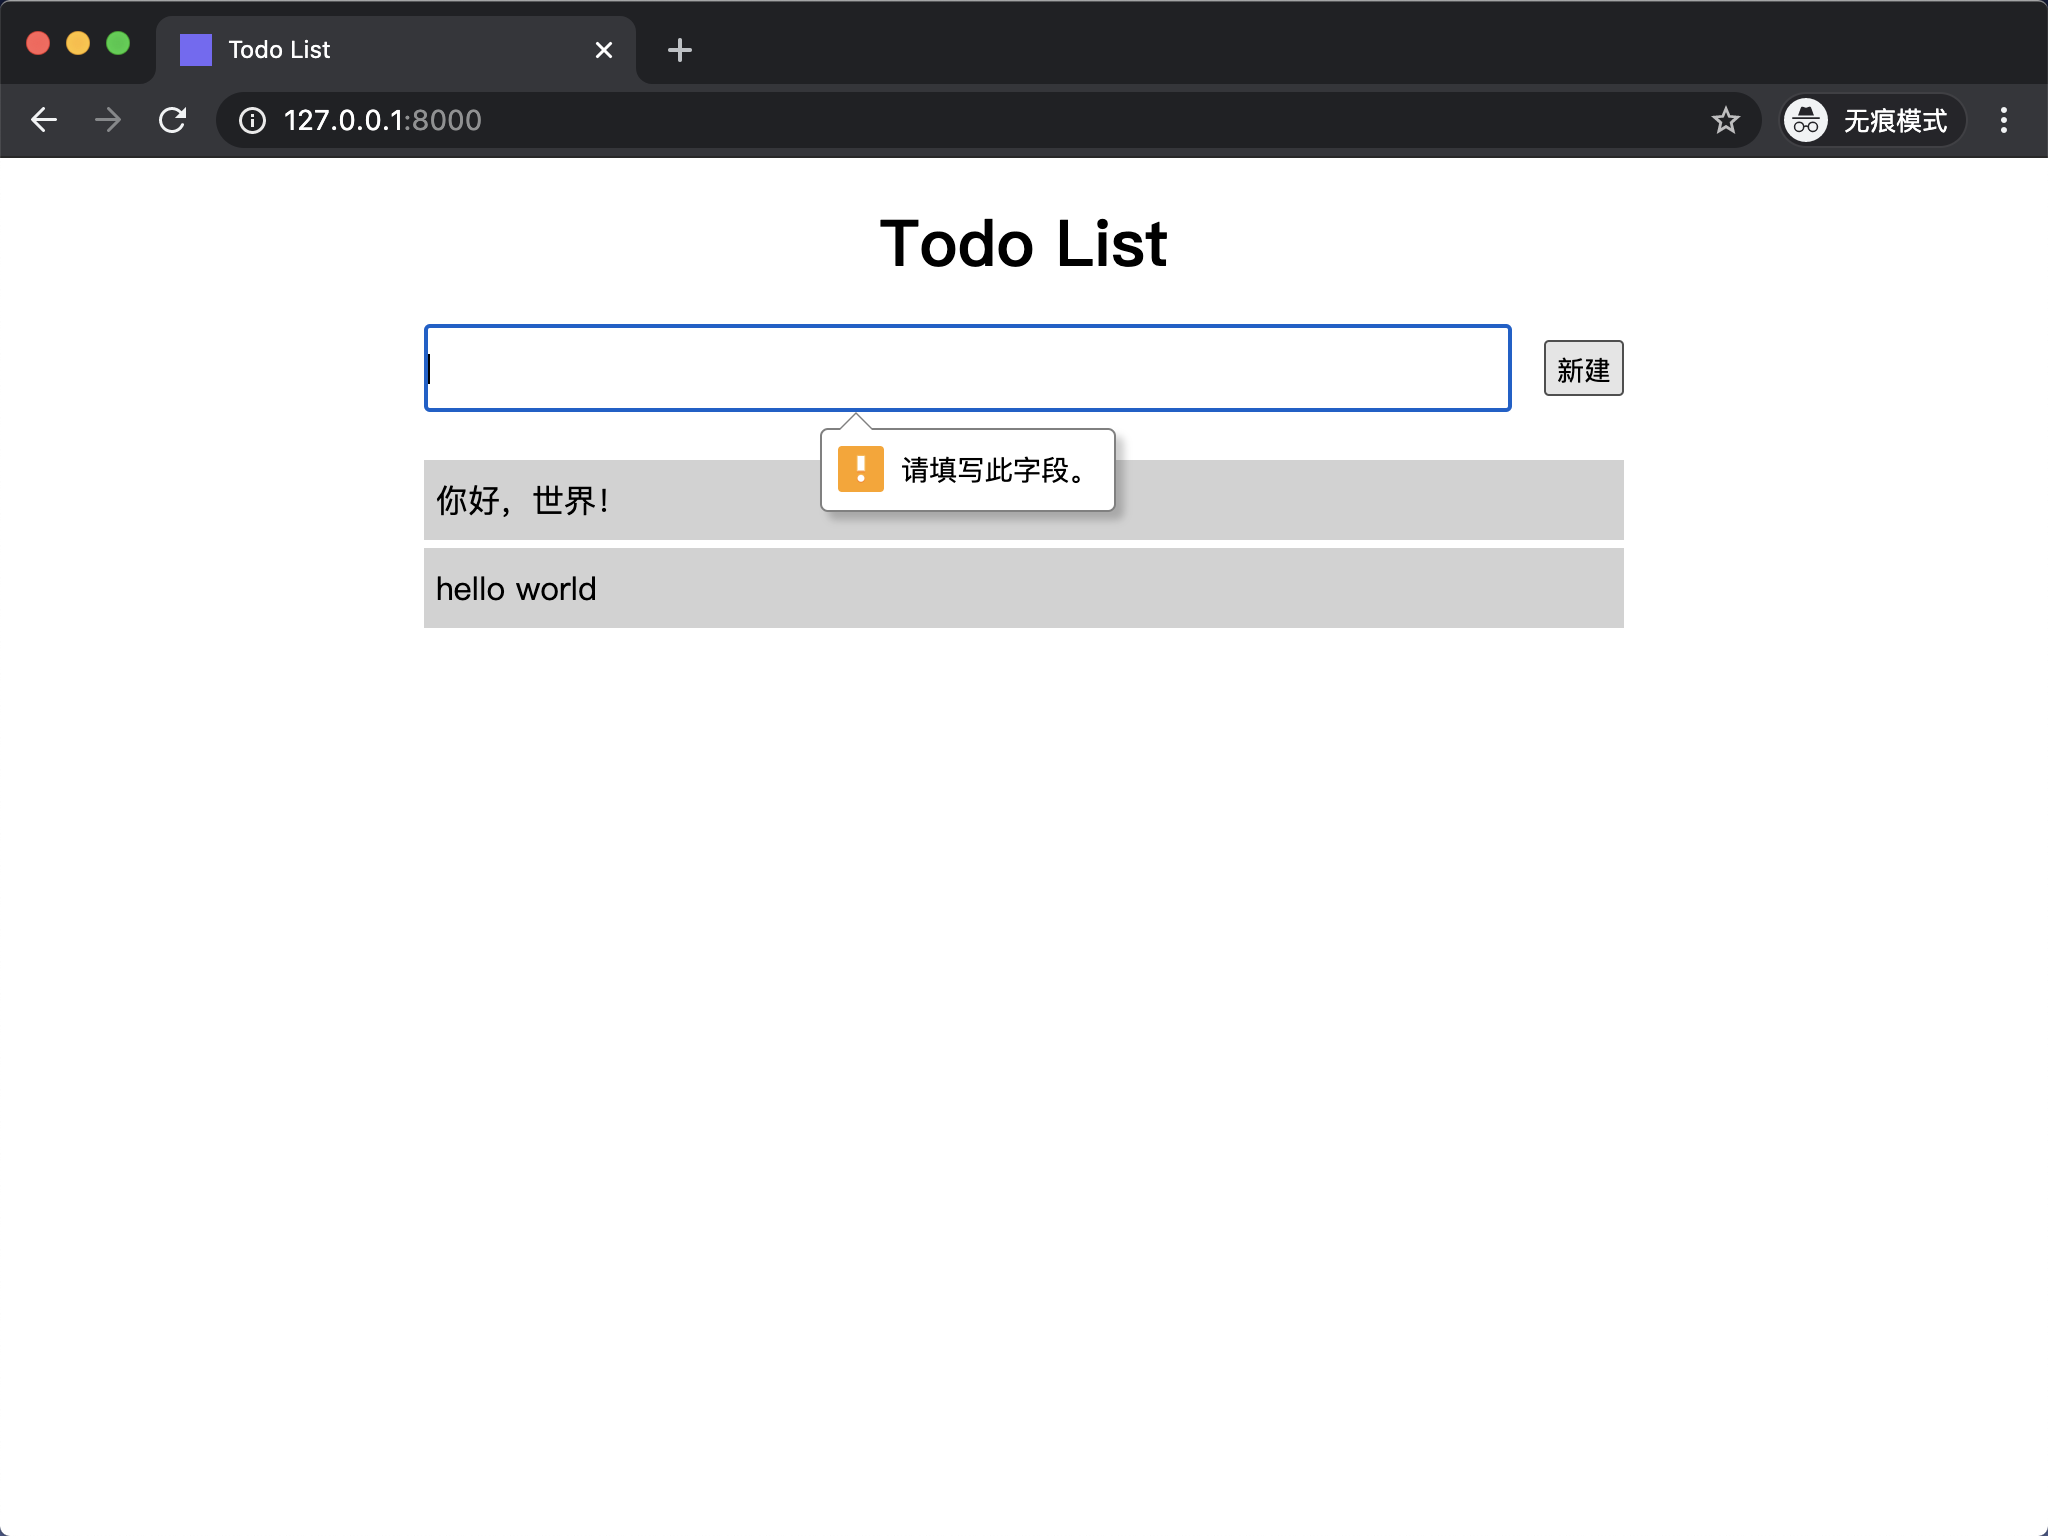
其实对于检查 todo 是否有效的逻辑前端也可以处理,只需要在输入 todo 的 input 标签加上 required 属性即可。这样当用户未输入任何内容就直接点击新建按钮时,浏览器会自动给出 请填写此字段。 的提示,在浏览器端做校验的好处是可以在请求未发送给后台服务器之前,由浏览器自动完成输入校验,这样能够减少发送请求的次数,避免无效的请求发送到服务器后台造成资源的浪费。
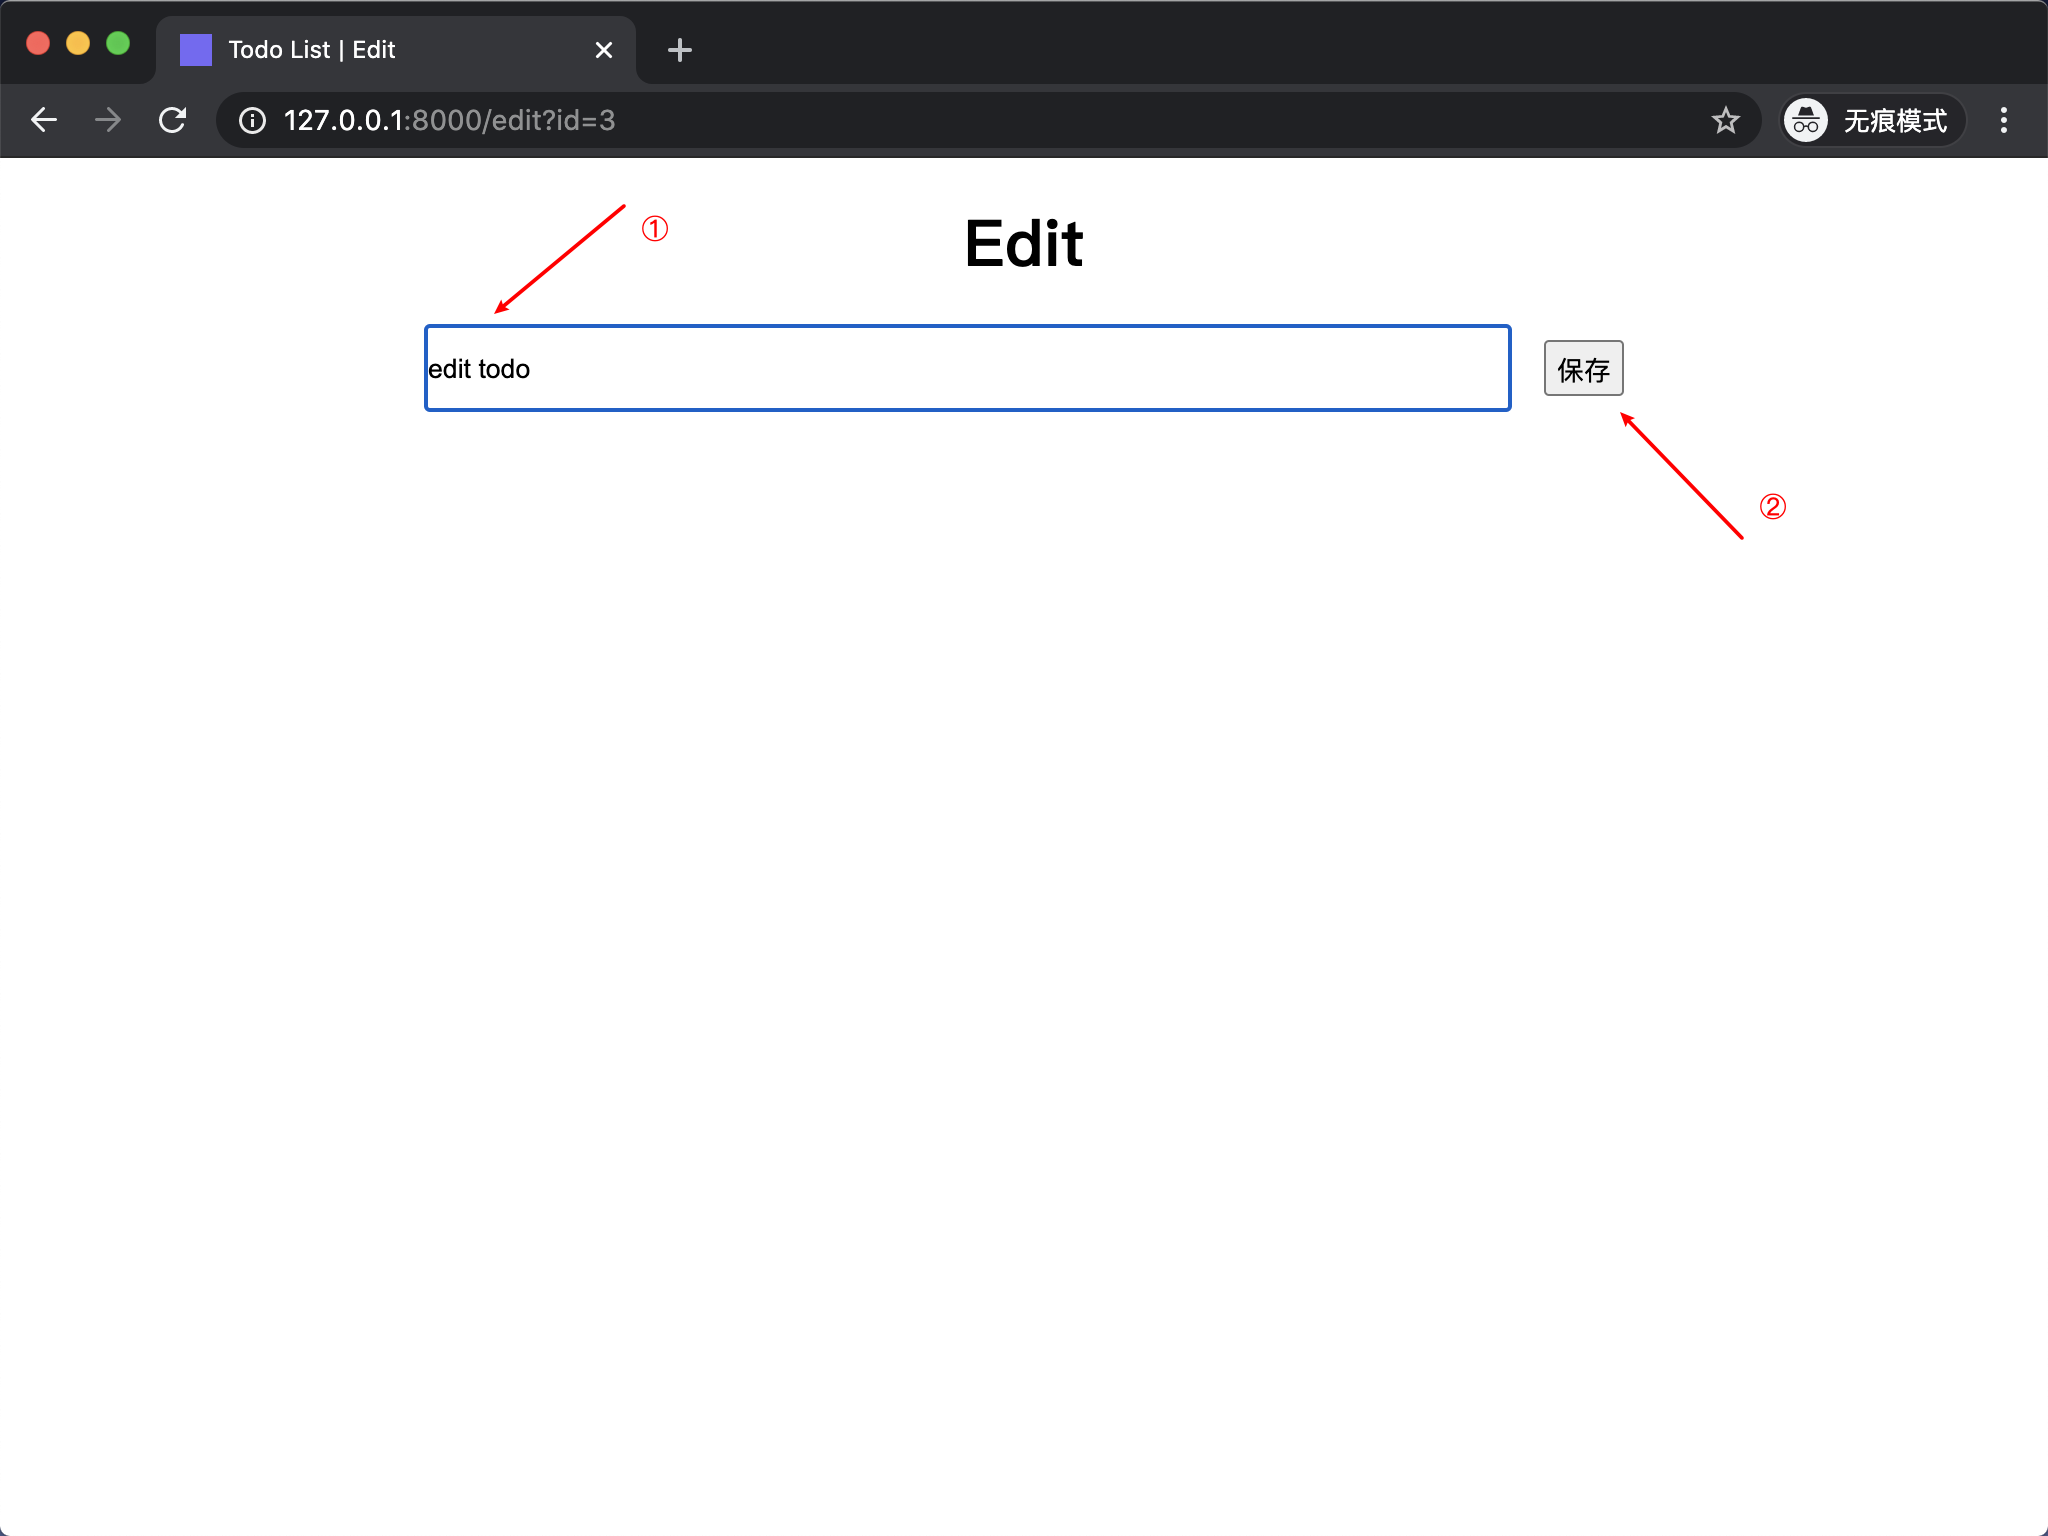
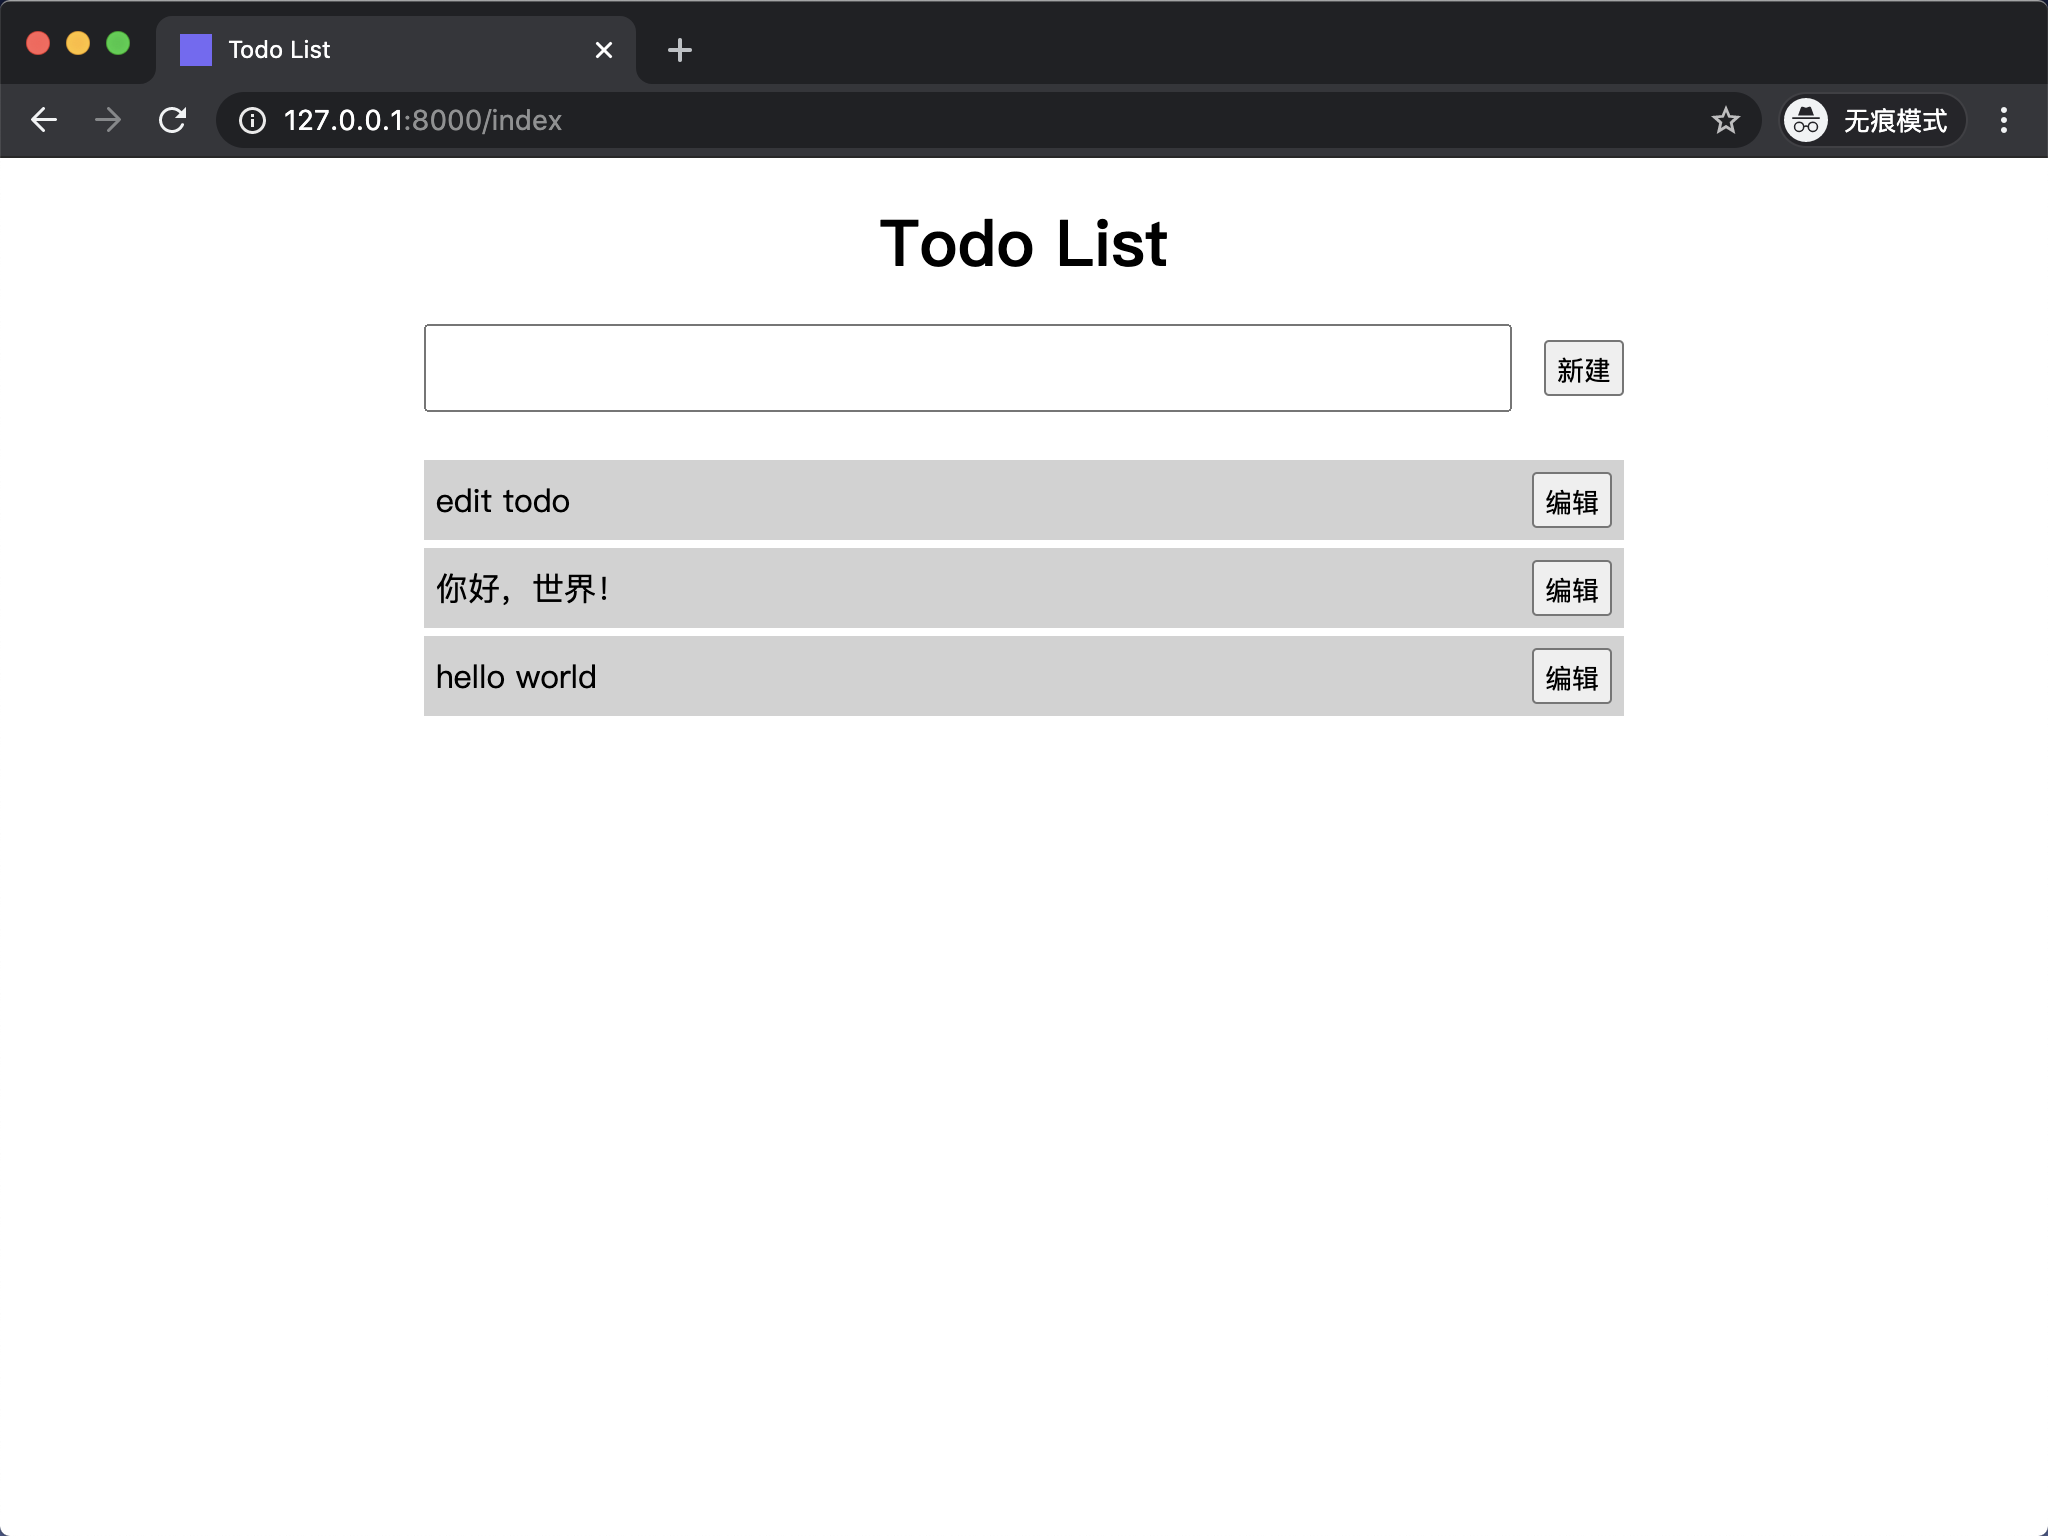
需要注意的是,修改 todo 依然采用了 POST 请求方式来提交数据。在前面介绍 HTTP 请求方法时,我提到过 HTTP 常见请求方法有四个:POST、DELETE、PUT、GET 分别对应增、删、改、查四个操作。如果采用 RESTful 风格来开发 Web API 最好完全遵照 HTTP 请求方法和操作的对应关系,以便开发出更加语义化的接口。这里为了简单起见,Todo List 程序只使用了 GET、POST 两种请求方式,除了获取数据时采用 GET 请求,新增、修改、删除操作都采用 POST 请求方式。
... @classmethod deffind_by(cls, limit=-1, ensure_one=False, sort=False, reverse=False, **kwargs): """查询 todo""" result = [] todo_list = [todo.__dict__ for todo in cls.all(sort=sort, reverse=reverse)] for todo in todo_list: # 根据关键字参数查询 todo for k, v in kwargs.items(): if todo.get(k) != v: break else: result.append(cls(**todo))
# 查询给定条数的数据 if0 < limit < len(result): result = result[:limit] # 查询结果集中的第一条数据 if ensure_one: result = result[0] if len(result) > 0elseNone
return result
@classmethod defget(cls, id): """通过 id 查询 todo""" result = cls.find_by(id=id, ensure_one=True) return result
find_by 方法用来根据给定条件查询 todo,get 方法内部调用的还是 find_by 方法,只根据 id 来搜索,查询结果为单条数据,这两个方法均为类方法。